Needles, Pumpkins, And Things
I’m not entirely certain I have time for a new hobby, but I love this little threading dance I get to do in the evenings once I close the laptop. Unlike painting and illustrating, I have no expectations when I’m embroidering. And most of the time, I’m happily surprised with the outcome.
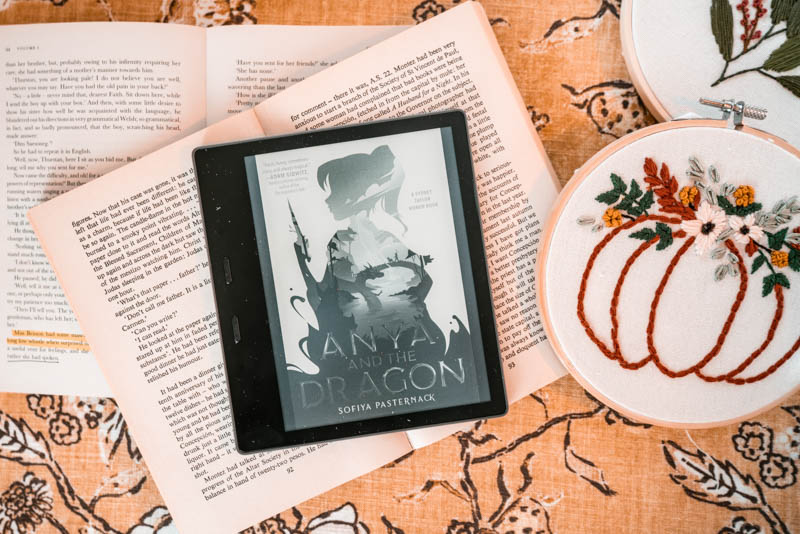
I finished my fourth hoop yesterday (whoop!), and I have plans to start another pumpkin this evening--once all the chores are finished, of course. Sooo, I suppose I’ll start sending these to family and friends soon. We’re running out of wall space.
In case you’re interested in learning to embroider, here’s a sneak peak into the process.
What You'll Need:
Supplies are not costly at all, for a hobby that is. Embroidery floss is about a dollar (if not cheaper) a bundle. And so far, I've yet to restock on colors. The linen is the most expensive.
- Needle (3-5 gauge)
- Pencil
- Embroidery six thread floss (I use DMC)
- Linen (best for beginners)
- Hoop (I typically use a 6 in hoop, as most tutorials I use ask for that size)
- Tutorial (or your own design)
- Persistence
Method:
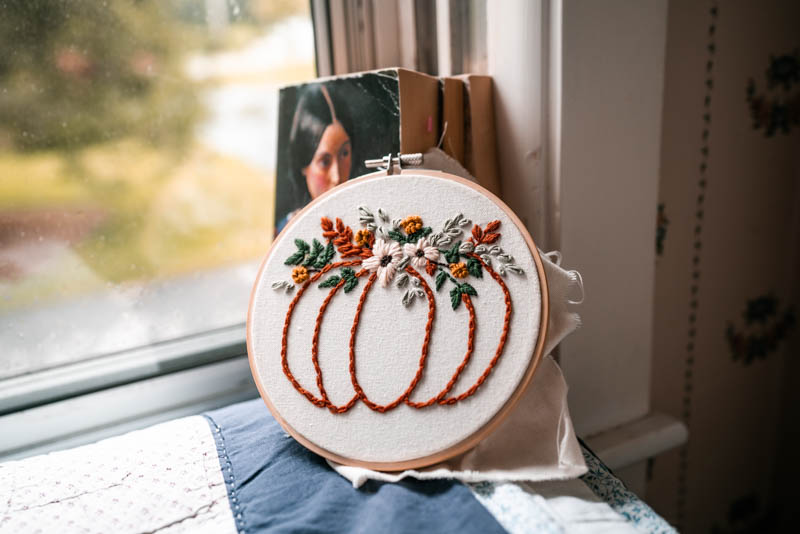
I spent a half hour to an hour each night for about a week threading this pumpkin. I learned several different stitches in the process, but overall it was a newbie-friendly tutorial. I’m quite glad with the outcome. I did really enjoy the process of making it though.
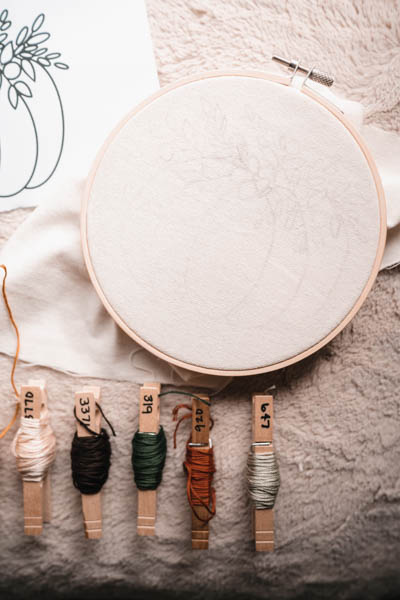
At the beginning, I traced with a pencil the printed image straight onto my canvas (linen is what I’m using here).
Next I thread the needle. This takes me ALWAYS forever to do lol and my least favorite part, but actually I do love that satisfying feeling when it does fit through the needle. I usually stick with one design element then move onto the next. For example, I’ll start with all the leaves first and then move onto the flowers.
I learned a gambit of stitching types in this tutorial:
- French knot
- Leaf stitch
- Chain stitch
- Basic stitch
- Back stitch
French Knot has got to be my most fun stitch so far. I’m quite looking forward to the wheel stitch…
I haven’t quite learned what to do with the embroidery once it is finished. I’m thinking of giving them to my family as holiday gifts. But the back is quite messy (ahem, beginner), and I’d like to clean it up a bit before gifting them.
Olivia Teagan Sturnman, an instagram creative, also has a tutorial about embroidery and such. So I picked up her book on embroidery and flipped to the back (where all the good stuff is). She suggests hot-gluing the sides of the linen to the hoop and even sewing a felt piece to the back to avoid weird shadows and wall color and things.
This particular tutorial came from the genius, creative mind of And Other Adventures, Co.
This project was something I really could escape into, a lot like reading. It didn’t require too much effort, just enjoyment (minus the occasional needle pricking, not quite like the Sleeping Beauty scene as I expected).